Imagine dominating the newest games. Picture creating videos without a hint of lag. Envision running tough simulations easily. Building your own personal computer makes these dreams real.
A PC builder lets you select each piece. This means you get the exact performance you desire. Why build your own rig? You get total customization. Plus, you save cash, optimize performance, and feel awesome after building it yourself. This article guides you through each step. From selecting components to assembly. And even troubleshooting.

Choosing Your Components
Picking the correct parts is key. Let’s discuss each main part. We’ll cover its purpose. We’ll explore what to consider while choosing.
CPU (Central Processing Unit)
The CPU is the brain. It handles all calculations. Intel and AMD are the top brands. Things to consider include core count and clock speed. Gamers need a different CPU than video editors. Choose wisely for your needs.
Motherboard
The motherboard connects everything. It must match your CPU’s chipset. Consider the form factor. Also check for enough PCIe slots, RAM slots, and I/O ports. The motherboard is important.
RAM (Random Access Memory)
RAM helps your PC multitask. Capacity and speed matter. Speed is measured in MHz. Latency is measured as CL. Gamers usually need at least 16GB. Video editors may need 32GB or more.
GPU (Graphics Processing Unit)
The GPU renders images and videos. There are different tiers. Entry-level GPUs are good for basic gaming. Mid-range handle 1080p gaming well. High-end GPUs crush 4K. VRAM (video RAM) is also important.
Storage (SSD/HDD)
SSDs are much faster than HDDs. SSDs use flash memory. HDDs use spinning disks. SSDs are great for your operating system and games. HDDs are cheaper for mass storage. Get both if you can!
Power Supply (PSU)
The PSU feeds power to everything. Wattage is vital. Get a PSU with enough power. Efficiency is rated (80+ Bronze, Gold, etc.). Modularity helps with cable management.
CPU Cooler
CPUs get hot. A cooler keeps it running smooth. Air coolers are cheaper. Liquid coolers are more efficient. Consider the TDP (Thermal Design Power) of your CPU.
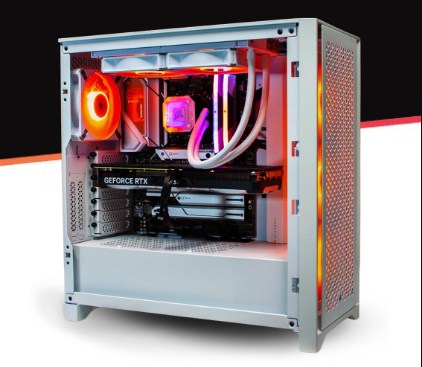
PC Case
The case houses everything. Form factor matters. Make sure it fits your components. Airflow is key to cooling. Good cable management is also important. Pick a case you like the look of.
Assembling Your PC: Step-by-Step Guide
Ready to build? Follow these steps. Be careful and take your time.
Preparing the Case and Installing the CPU
First, mount the motherboard. Install the CPU gently. Apply thermal paste. Do not use too much thermal paste.
Installing RAM and GPU
Next, install the RAM. Push the sticks in gently. Now install the GPU in the PCIe slot. It should click into place.
Installing Storage Devices and PSU
Mount your SSDs or HDDs. Connect the PSU. Make sure the PSU is switched off.
Connecting Cables and Cable Management
Connect all the power cables. Connect the data cables. Now manage the cables. Good cable management improves airflow.
Installing CPU Cooler
Install your air or liquid cooler. Follow the instructions carefully. Make sure it’s secure.
BIOS Setup and Operating System Installation
Time to boot it up! Enter the BIOS first. Then install your operating system.
Accessing and Configuring BIOS
Press the correct key during startup (Del, F2, etc.). Set the boot order. Enable XMP for your RAM. This boosts its speed.
Installing the Operating System (Windows/Linux)
Boot from a USB drive or DVD. Follow the on-screen prompts. Install Windows or Linux.
Troubleshooting Common Issues
Things go wrong sometimes. Don’t worry! Here’s how to fix common problems.
PC Won’t Turn On
Check the power cord. Check the PSU switch. Make sure everything is connected. Reseat the RAM.
No Display Output
Make sure the monitor cable is connected. Plug the monitor into the GPU. Not the motherboard. Reseat the GPU.
Overheating
Check the CPU cooler. Make sure it’s installed correctly. Clean any dust. Reapply thermal paste.
Driver Issues
Install the newest drivers. Download them from the manufacturer’s site. This fixes many problems.
Optimizing Your PC for Performance
Now that it’s built, optimize it! Squeeze out every drop of performance.
Driver Updates
Keep your drivers updated. This ensures compatibility. This also ensures performance.
Overclocking (CPU/GPU)
Overclocking can boost performance. It can also damage components. Be careful! Research before overclocking.
Software Optimization
Close unnecessary programs. Disable startup apps. Defrag your hard drive (if you have one).
Building your own PC is great. You get full control. You can save funds. And you’ll get the performance you need.
Start planning your build now! There are lots of learning resources online. Building PCs are fun. Plus, it’s a rewarding experience. The future of PC building is bright. Get in on the action!