In the arena of vehicle detailing, the ceramic coating has ended up the gold modern for lengthy-lasting safety and a graceful cease. Unlike conventional wax or sealants, ceramic coatings provide superior sturdiness and resistance to environmental contaminants.
If you’re searching to raise the arrival and safety of your car, learning a way to apply ceramic coating is an expertise well worth getting to know. Transform your vehicle’s appearance with a stunning custom car wrap designed to turn heads wherever you go. In this step-by-step manual, we’re going to walk you through the technique of making use of a ceramic coating for your car like a professional.
Understanding Ceramic Coating
It’s important to realise ceramic coating and its operation before delving into the utility method. A liquid polymer referred to as ceramic coating forms a chemical hyperlink along with your automobile’s manufacturing unit paint to create a protective layer that grows on the out of doors.
This layer serves as a barrier against UV rays, dust, water, chemicals, and other contaminants, keeping your automobile looking brand-new for a longer length of time.
Step 1: Prepare Your Vehicle
The key to excellent ceramic coating software is instruction. To begin, deliver your automobile an intensive cleansing to cast off all of the dirt and grime. To save you from scratching the paint, use a microfiber wash mitt and a pH-balanced vehicle shampoo. After the auto has been very well cleaned and dried, use a blower or a microfiber fabric to complete drying it.
Next, look for any flaws inside the paint, inclusive of wet stains, scratches, or swirl marks. If vital, put off any imbedded impurities and repair the paint’s smoothness with a clay stick. Lastly, to avoid the ceramic coating drying thru software too hastily, make certain the car is parked in a shady place far from direct sunshine.
Step 2: Masking and Taping
To protect sensitive regions, such as rubber trim, plastic surfaces, and symbols, from unintentional coating, use painter’s tape to mask them off. Take it slow during this step to ensure specific applications and avoid any pointless cleanup later.
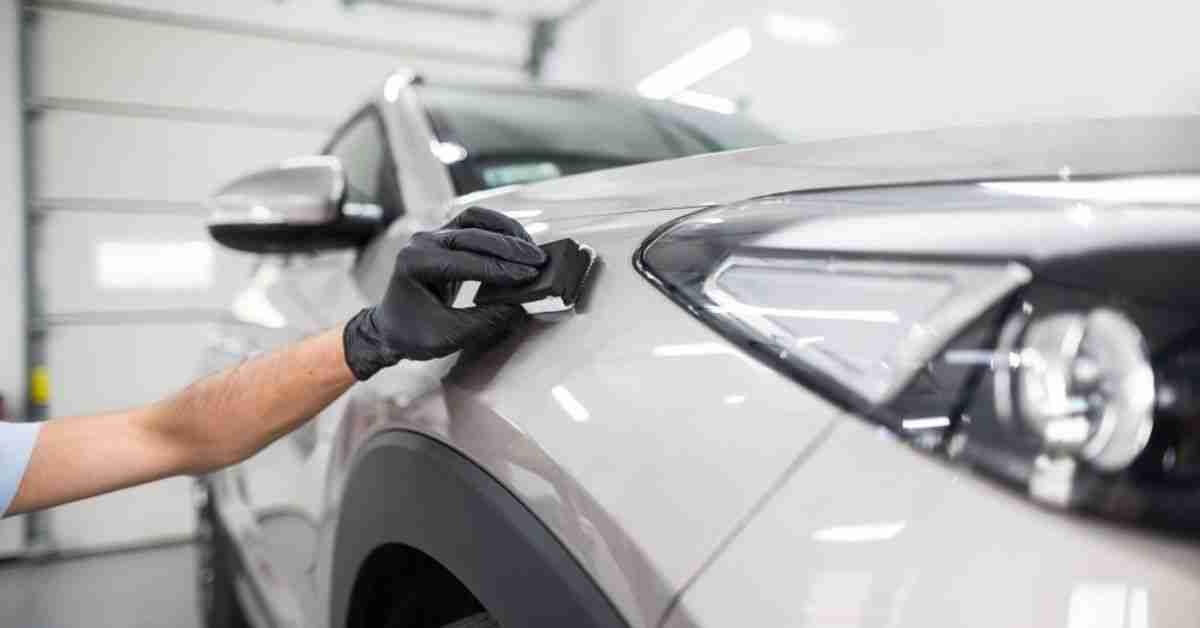
Step 3: Application of Ceramic Coating
Now comes the primary event – applying the ceramic coating. Before beginning, make certain you have all the essential device, including the ceramic coating product, applicator pads, and microfiber towels.
- Shake the Bottle: Shake the ceramic coating bottle well to make certain that the product is thoroughly blended.
- Apply a Few Drops: Place a few drops of ceramic coating onto the applicator pad. Remember, a little goes a long way, so avoid overloading the pad.
- Work in Sections: Divide your automobile into workable sections, such as the hood, roof, doorways, and trunk. Start applying the ceramic coating immediately, overlapping each skip slightly to ensure complete coverage.
- Level the Coating: After making use of the ceramic coating to a phase, use a easy microfiber towel to level the product calmly. Buff the floor in round motions till you attain a uniform, sleek finish.
- Repeat the Process: Continue making use of the ceramic coating to the closing sections of the car, operating methodically to prevent the product from drying upfront.
- Check for Missed Spots: Once you’ve covered the entire car, investigate it carefully for any neglected spots or uneven software. Touch up any regions as wished before shifting on to the next step. You can find the ultimate protection for your vehicle with premium ceramic coating in Saskatoon, ensuring unparalleled durability and a showroom shine.
Step 4: Curing
After applying the ceramic coating, it’s vital to permit sufficient time for curing to ensure the most effectiveness. Most ceramic coatings require a minimum of 24 hours to cure completely, although some merchandise might also have specific curing times.
During this period, avoid exposing the auto to water, moisture, or extreme temperatures. It’s additionally important to keep away from any physical touch with the auto’s surface all through the curing period, as this could disrupt the coating’s bonding method and compromise its effectiveness.
Step 5: Final Touches
Once the ceramic coating has cured, cast off the painter’s tape and recognize the outcomes. Your car must now have a first-rate shine and be well-blanketed against the elements. To hold the end, wash your car frequently with the use of a pH-neutral shampoo and avoid abrasive cleansing methods that might damage the coating.
Furthermore, it is advised to apply a maintenance layer every six to twelve months to guarantee the ceramic coating keeps offering the best possible protection.
In the End
Applying ceramic coating in your vehicle can also appear daunting before everything, but with the proper know-how and technique, it could be a worthwhile DIY task.
By following this step-by-step guide and exercising persistence and attention to detail, you could reap professional-best consequences and experience the benefits of lengthy-lasting paint protection and a showroom-worth shine. So why wait? Give your vehicle the last remedy it merits and enjoy the difference that ceramic coating can make.